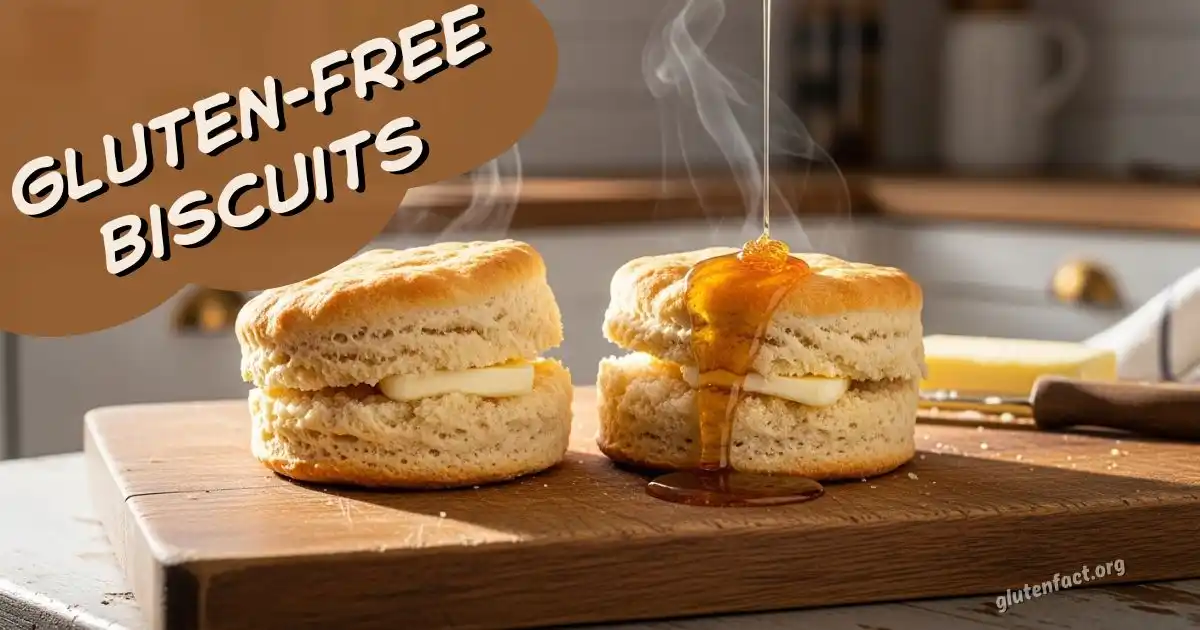
Want fluffy gluten-free biscuits? This amazing recipe makes bakery-worthy biscuits in just 20 minutes – no fancy skills required!
So you’re standing in your kitchen, gluten-free and slightly bitter about it, wondering if you’ll ever taste a decent biscuit again? Well, buckle up, buttercup, because I’m about to blow your mind with biscuits that are so good, even your gluten-loving friends will be begging for the recipe. And the best part? You won’t need a chemistry degree or a prayer circle to make them work.
Why This Recipe is Awesome
Let me tell you why these biscuits are the real MVP of the gluten-free world. First off, they actually taste like biscuits—not cardboard pretending to be food. I know, revolutionary concept, right?
These beauties are fluffy, buttery, and have that perfect flaky texture that makes you want to slather them with honey and forget all your problems. Plus, they come together faster than you can say “gluten-free flour blend,” which means less time stressing in the kitchen and more time enjoying the fruits of your labor.
The secret weapon? A killer combination of almond flour and a good gluten-free flour blend that doesn’t taste like sadness. Trust me, I’ve been down the rabbit hole of terrible GF flours, and this combo is chef’s kiss.
Ingredients You’ll Need
Here’s your shopping list, and yes, you probably have half of this stuff already:
- 2 cups gluten-free flour blend (get the good stuff with xanthan gum already in it—life’s too short)
- 1/2 cup almond flour (adds richness and makes everything better—and yes, almonds are totally gluten-free in case you were wondering)
- 1 tablespoon sugar (just a touch of sweetness)
- 1 tablespoon baking powder (the magic that makes things fluffy)
- 1 teaspoon salt (because flavor matters)
- 6 tablespoons cold butter (real butter, people—none of that fake stuff)
- 3/4 cup cold buttermilk (the tang that makes biscuits sing)
- 1 large egg (for binding and richness)
Pro tip: Keep that butter and buttermilk cold. Like, really cold. Your biscuits will thank you later.

- Super Fine & Guaranteed Fresh!
- 100% Pure Skinless Almonds. No additives or preservatives.
- Gluten Free And Certified Kosher.
Step-by-Step Instructions
Ready to become a gluten-free biscuit legend? Let’s do this:
- Preheat your oven to 425°F. Yes, right now. Don’t be that person who forgets and then wonders why nothing’s working.
- Mix your dry ingredients in a large bowl—both flours, sugar, baking powder, and salt. Give it a good whisk because lumps are the enemy of good biscuits.
- Cut in the cold butter using a pastry cutter, two forks, or your fingers (my personal favorite method). You want pea-sized pieces of butter scattered throughout. This is what creates those magical flaky layers.
- Whisk the buttermilk and egg together in a separate bowl. Make sure they’re best friends before adding them to the party.
- Pour the wet ingredients into the dry and gently fold everything together with a wooden spoon. Don’t overmix—we’re making biscuits, not developing gluten that doesn’t exist anyway.
- Turn the dough onto a floured surface (use your GF flour for dusting). Pat it into a rectangle about 3/4 inch thick. Fold the dough in half, then pat it down again. Repeat this once more—it creates layers that make your biscuits extra flaky.
- Cut straight down with a sharp biscuit cutter or glass. Don’t twist—just press and lift. Place them on a parchment-lined baking sheet with sides touching (they like to snuggle while baking).
- Bake for 15-17 minutes until the tops are golden brown and gorgeous. Your kitchen will smell like heaven, and you’ll feel like a kitchen wizard.

- The information below is per-pack only
- Low fat and cholesterol
- For baking and cooking
Common Mistakes to Avoid
Let’s talk about the rookie mistakes that can turn your biscuit dreams into cardboard nightmares:
Overmixing the dough is mistake number one. Gluten-free dough is delicate, so treat it like your feelings—gently and with care.
Using warm ingredients will give you flat, sad biscuits. Cold butter = flaky layers. Warm butter = dense disappointment.
Twisting your biscuit cutter seals the edges and prevents proper rising. Just press straight down like you mean it.
Skipping the folding step means missing out on those beautiful layers. Don’t be lazy—those two extra folds make all the difference.
Alternatives & Substitutions
Life happens, and sometimes you don’t have exactly what the recipe calls for. Here’s how to roll with it:
No buttermilk? Mix 3/4 cup regular milk with 1 tablespoon white vinegar. Let it sit for 5 minutes, and boom—homemade buttermilk that works like a charm.
Can’t do almond flour? Substitute with more GF flour blend, but add an extra tablespoon of butter to keep things rich and tasty.
Dairy-free friends? Use cold vegan butter and your favorite plant milk with that vinegar trick. The results are surprisingly good—I was skeptical too.
Want them sweeter? Bump the sugar up to 2 tablespoons, or brush the tops with melted butter and honey after baking.
Speaking of sweet treats, if you’re feeling adventurous after mastering these biscuits, try your hand at homemade gluten-free fortune cookies—they’re surprisingly fun to make!
Final Thoughts
Look, gluten-free baking doesn’t have to be a nightmare filled with hockey pucks masquerading as food. These biscuits prove that with the right technique and ingredients, you can have your biscuit and eat it too—without spending the rest of the day wondering what went wrong.
The key is treating your ingredients with respect, keeping things cold, and not overthinking it. FYI, the first batch might not be perfect, and that’s totally fine. Even if they’re slightly wonky, they’ll still taste amazing with butter and jam.
Now go forth and bake! Your kitchen deserves to smell this good, and you deserve biscuits that don’t make you question your life choices. Trust me, once you nail this recipe, you’ll be the gluten-free hero of every potluck and family gathering. You’ve got this!
FAQ (Frequently Asked Questions)
Can I make these ahead of time?
Absolutely! Mix the dry ingredients the night before, then add the wet ingredients in the morning. Or freeze the cut biscuits on a baking sheet, then bake straight from frozen (add 2-3 extra minutes).
What’s the deal with xanthan gum?
It’s basically the glue that holds gluten-free baking together. Most good flour blends already have it, but if yours doesn’t, add 1/2 teaspoon to this recipe.
Can I freeze leftover biscuits?
Sure can! Cool them completely, wrap in plastic, and freeze for up to 3 months. Pop them in a 350°F oven for 5-7 minutes to refresh.
Why are my biscuits flat?
Either your baking powder is old (replace it every 6 months), your butter was too warm, or you overmixed. Also, make sure you’re measuring flour correctly—spoon it into the cup and level off.
Can I add herbs or cheese?
YES! Fold in 2 tablespoons of fresh herbs or 1/2 cup shredded cheese after step 2. Cheddar and chives are divine.
I’m Dr. Shivani, a Kolkata-based nutritionist since 2015. After 10 years of igniting a love for healthy eating in young minds as a High School nutritionist teacher, I now help individuals unlock their full potential through personalized diet plans. My passion for writing and sharing nutrition knowledge (through blogs and observations) keeps my practice fresh and fuels my love for the field!