So you’ve got a mountain of apples sitting on your counter, staring at you judgmentally. Maybe you went a little overboard at the orchard, or your neighbor’s tree decided to gift you its entire harvest.
Either way, you’re now in a committed relationship with approximately 47 apples, and honestly? Canning them gluten-free style is your ticket to preserving that crispy autumn goodness without the guilt or the gluten.
Here’s the thing: canned apples are basically time travelers. You prep them now, seal them up, and boom—six months later, you’ve got instant pie filling, pancake topping, or just a sweet snack when you’re too lazy to peel fresh fruit.
And making them gluten-free? That’s not even hard. In fact, apples are naturally gluten-free, so you’re already winning.
Why This Recipe is Awesome
Let me count the ways. First off, this recipe is stupidly versatile. Want pie filling? You got it. Craving something for oatmeal? Done. Need a last-minute dessert that makes you look like you tried? Just warm these babies up with some ice cream and accept your compliments gracefully.
Second, it’s practically fool-proof. If you can boil water and cut an apple without losing a finger, you’re qualified. There’s no fancy equipment required beyond basic canning gear, and the ingredient list is shorter than your attention span during a work meeting.
Third—and this is huge—you control the sugar. Store-bought canned apples are swimming in corn syrup and regret. Your version? As sweet (or not) as you want. Plus, knowing exactly what’s in your food feels weirdly adult and responsible, which is a nice change of pace.
And if you’re planning ahead for the holidays, these canned apples are a lifesaver. Need a quick dessert for Christmas dinner? Just warm them up and serve with whipped cream.
Speaking of holiday planning, check out our gluten-free Christmas recipes and dinner ideas for a full festive spread that’ll impress everyone at the table.”
Ingredients You’ll Need
Here’s your shopping list, and spoiler alert: it’s refreshingly short.
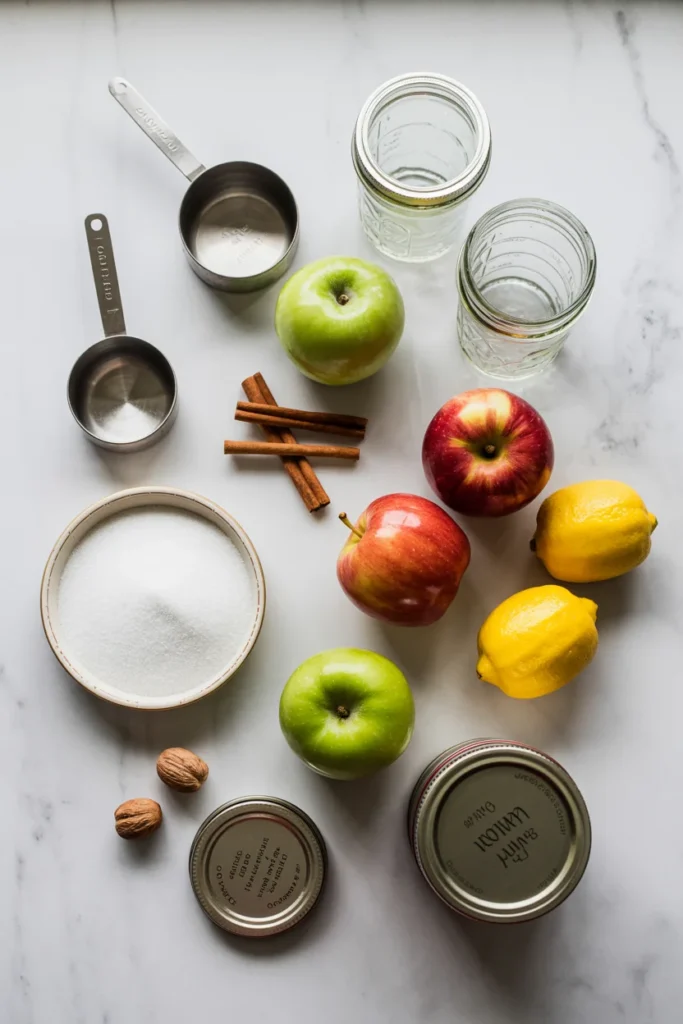
- 8-10 lbs of apples (Granny Smith, Honeycrisp, or whatever you’ve got—just pick firm ones that won’t turn to mush)
- 4 cups water (from your tap, not a fancy glacial spring or whatever)
- 2 cups sugar (white, brown, or a mix—your call)
- 1/4 cup lemon juice (bottled is fine; fresh is great if you’re feeling fancy)
- 1 tsp cinnamon (optional, but come on, it’s apples)
- 1/4 tsp nutmeg (also optional, but it makes everything smell like a Hallmark movie)
- Canning jars with lids (quart or pint-sized, sterilized like you mean it)
Pro tip: If you’re going gluten-free for health reasons, double-check that your sugar hasn’t been processed with bone char if you’re also vegan. Most sugar is naturally gluten-free, but it never hurts to verify.
Step-by-Step Instructions
Alright, let’s do this thing.
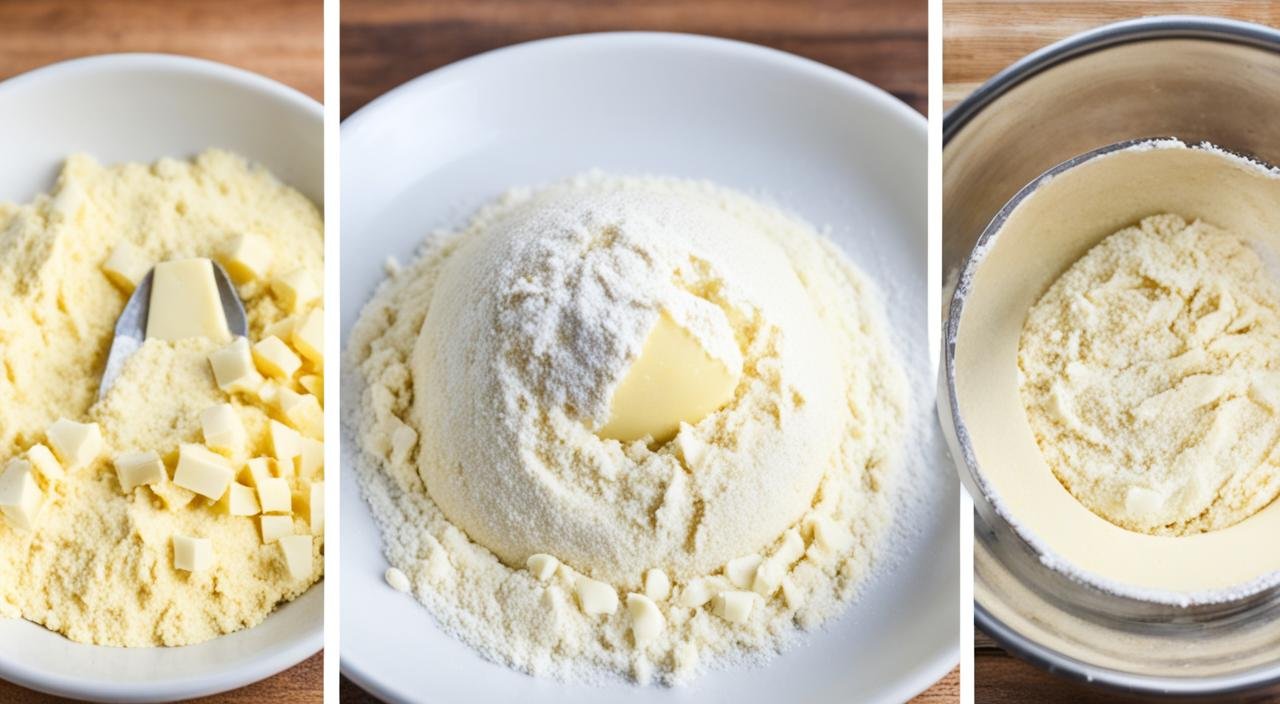
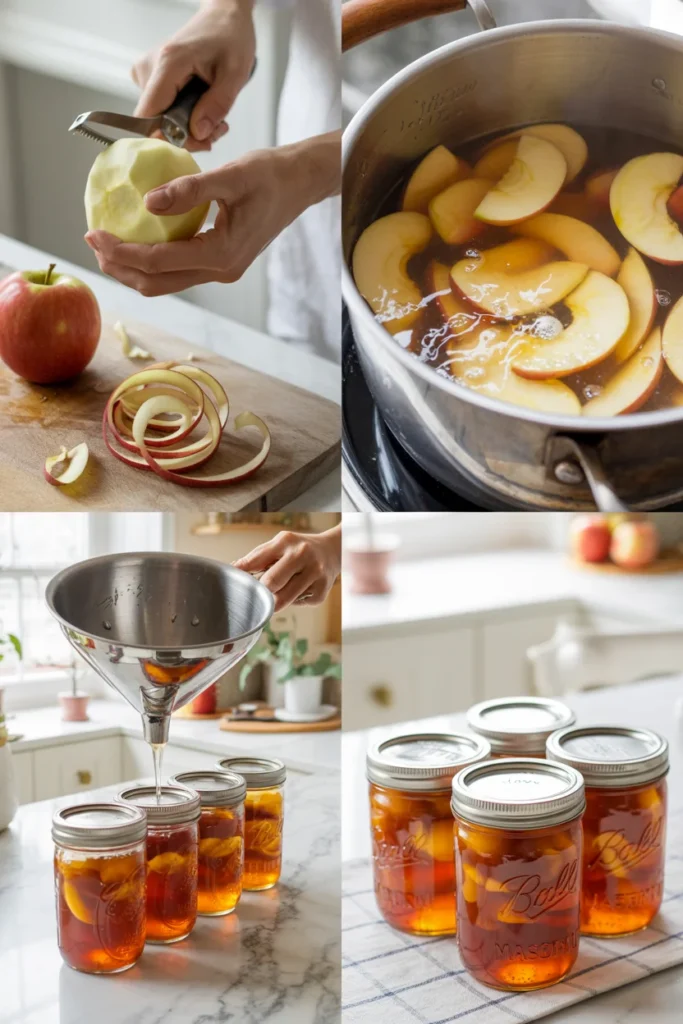
1. Prep your apples like a boss. Wash, peel, core, and slice those apples into quarters or eighths—whatever floats your boat. Toss them in a bowl of water with a splash of lemon juice to keep them from turning brown while you work. Nobody likes oxidized apples; they look sad and taste worse.
2. Make your syrup. In a large pot, combine the water, sugar, lemon juice, and spices. Heat it over medium-high until the sugar dissolves completely. Stir occasionally so nothing burns or gets weird. This syrup is what makes your apples sweet and shelf-stable, so don’t skip it.
3. Add the apples and simmer. Drain your apple slices and dump them into the syrup. Bring everything to a gentle boil, then reduce the heat and simmer for about 5 minutes. Don’t overcook them—you want the apples tender but not mushy. Think firm enough to hold their shape, soft enough to be useful.
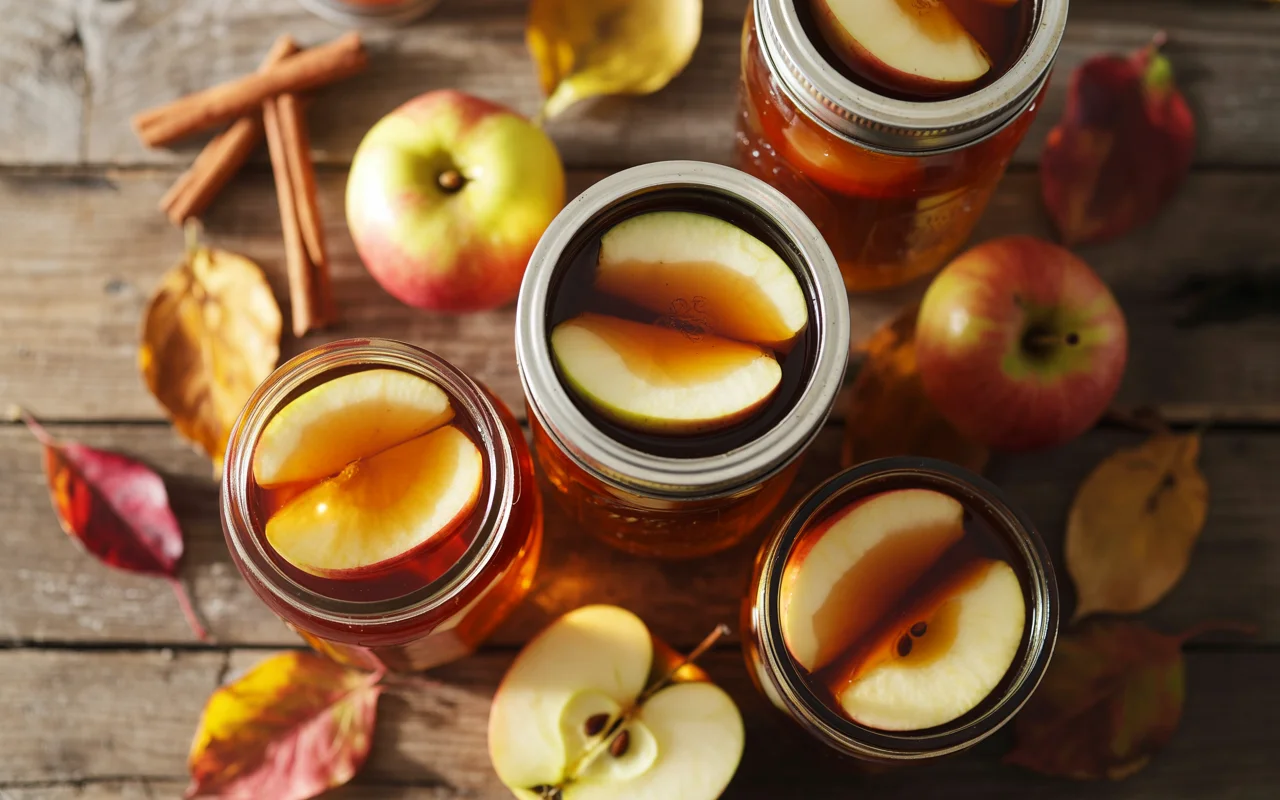
4. Pack those jars tight. Using a slotted spoon, transfer the hot apple slices into your sterilized jars, leaving about 1/2 inch of headspace at the top. Then ladle the hot syrup over the apples until they’re covered, maintaining that headspace. Run a spatula or chopstick around the inside edge to release any air bubbles.
5. Seal and process. Wipe the jar rims clean (syrup residue = failed seal = sadness), place the lids on top, and screw the bands on finger-tight. Process in a boiling water bath for 20 minutes (25 if you’re using quart jars). Adjust for altitude if you live somewhere high up—Google is your friend here.
6. Let them cool and listen for the pop. Remove the jars carefully and let them cool on a towel for 12-24 hours. You should hear that satisfying ping as each lid seals. If any don’t seal, just stick them in the fridge and eat them within a week.

Common Mistakes to Avoid
Even easy recipes have pitfalls, so let’s dodge them together.
Mistake #1: Using mealy apples. Soft, grainy apples turn into applesauce in the jar. Stick with firm varieties like Granny Smith, Honeycrisp, or Fuji. Your future self will thank you.
Mistake #2: Skipping the lemon juice. It’s not just for flavor—it helps prevent browning and adds acidity for safe canning. Don’t be a hero; use the lemon juice.
Mistake #3: Overfilling your jars. That headspace isn’t a suggestion. Too much syrup means no room for expansion, which means no seal, which means wasted effort and sad apples.
Mistake #4: Not checking your seals. After 24 hours, press the center of each lid. If it doesn’t flex or pop, you’re good. If it moves, the jar didn’t seal—refrigerate it immediately.
Alternatives & Substitutions
Not everyone’s pantry looks the same, and that’s cool. Here are some swaps that actually work.
Sugar alternatives: Honey, maple syrup, or agave nectar all work beautifully. Just know they’ll change the flavor slightly. IMO, maple syrup with apples is basically autumn in a jar, so do with that what you will.
Spice it up: Don’t like cinnamon? Try cardamom, ginger, or even a vanilla bean for something different. No spices at all? That’s fine too—plain apples have their own vibe.
Light syrup option: Cut the sugar in half if you want something less sweet. The apples will still can safely; they’ll just be tart and more versatile for savory dishes.
Different fruits: Once you master this, try pears, peaches, or a mix. The technique stays the same, and suddenly you’re a preserving wizard.
Want to take your canned apples to the next level? Drizzle them with a little caramel or—hear me out—try them with our gluten-free crack sauce for a sweet-savory twist that’s absolutely addictive. It sounds wild, but trust me, warm apples with that tangy-sweet combo? Chef’s kiss.“
Final Thoughts
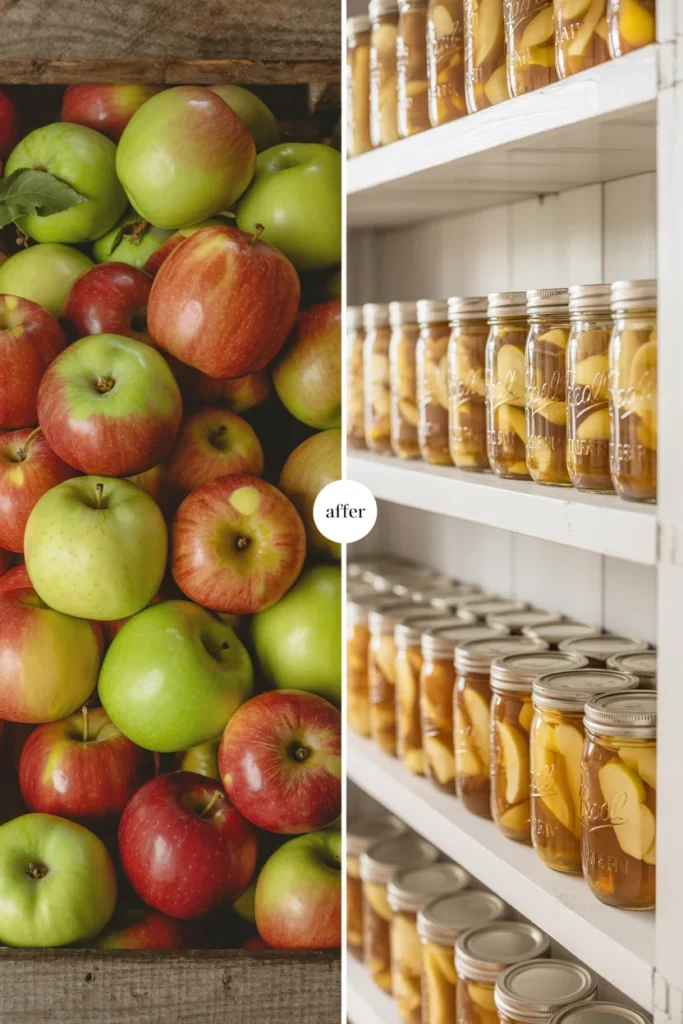
Look, canning apples isn’t rocket science, but it does make you feel ridiculously accomplished. There’s something deeply satisfying about lining up those jars, hearing those lids seal, and knowing you’ve got delicious, gluten-free goodness waiting whenever you need it.
So grab those apples, fire up the stove, and spend an afternoon preserving fall. Future you—the one craving apple crisp in February—is going to be seriously grateful. Now go forth and can like the domestic hero you secretly always were. You’ve absolutely got this.
FAQ (Frequently Asked Questions)
Do I really need a water bath canner, or can I just use a big pot?
Any pot deep enough to cover your jars with 1-2 inches of water works. You don’t need fancy equipment—just make sure the jars aren’t touching the bottom (use a rack or towel).
How long do these last?
Properly sealed jars last 12-18 months in a cool, dark place. Once opened, refrigerate and use within a week or two.
Can I skip the sugar entirely?
Technically yes, but the texture and shelf life might suffer. A light syrup (half sugar) is a good compromise for cutting sweetness without sacrificing quality.
What if my jars don’t seal?
Don’t panic. Just refrigerate them and use within a week. Or reprocess with a new lid if you catch it quickly. Unsealed jars aren’t dangerous—they just aren’t shelf-stable.
Can I use this recipe for pie filling?
Absolutely. In fact, it’s perfect for pies. Just drain some of the syrup, add a little cornstarch or tapioca, and you’re golden.
Is this safe for celiac folks?
Yep! Apples are naturally gluten-free, and as long as your other ingredients (sugar, spices) are certified gluten-free, you’re all set.
Can I add other flavors?
Go wild. Vanilla extract, almond extract, orange zest—whatever makes your heart sing. Just add them to the syrup before processing.
I’m Dr. Shivani, a Kolkata-based nutritionist since 2015. After 10 years of igniting a love for healthy eating in young minds as a High School nutritionist teacher, I now help individuals unlock their full potential through personalized diet plans. My passion for writing and sharing nutrition knowledge (through blogs and observations) keeps my practice fresh and fuels my love for the field!