So you’re craving pizza but don’t want to deal with the whole “ordering delivery and waiting forever” situation? Or maybe you’re gluten-free and tired of cardboard-flavored substitutes that insult your taste buds. Either way, you’ve landed in the right place.
These gluten-free pizza bites are about to become your new obsession—crispy, cheesy, totally customizable, and ridiculously easy to make. Plus, they’re bite-sized, which means you can eat like seventeen of them and call it “portion control.” Win-win.

Why Gluten-Free Pizza Bites Recipe is Awesome
Let me count the ways. First off, these bad boys are ready in about 30 minutes, which is less time than it takes to argue with your family about what toppings to order. Second, they’re gluten-free without tasting like sad, gluten-free desperation—I’m talking actual flavor and texture here, folks.
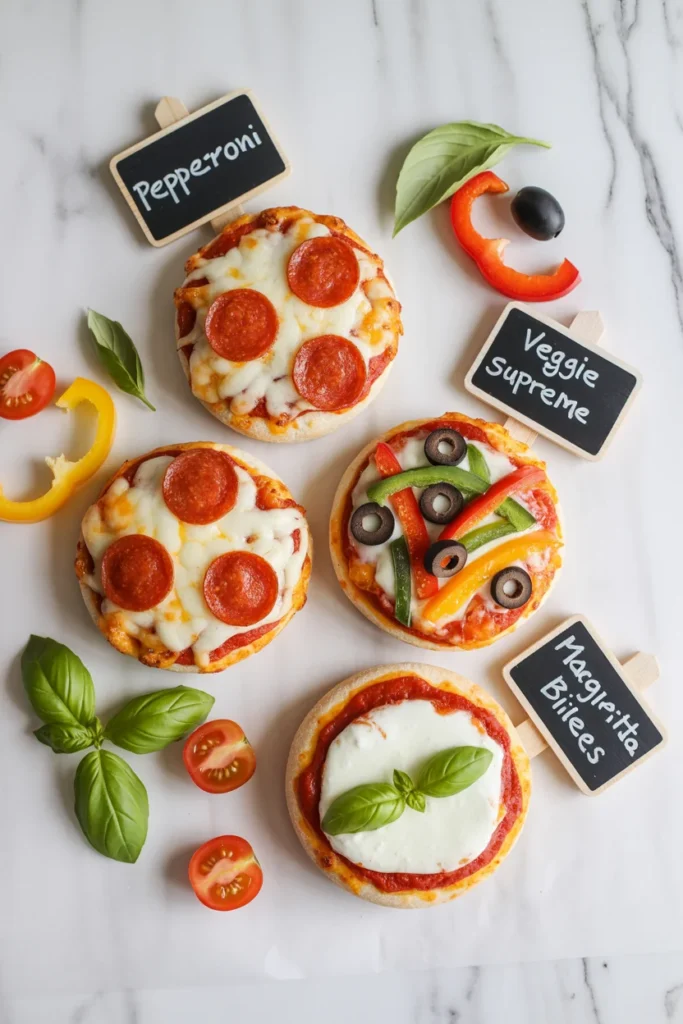
Third, you can customize them however you want. Pepperoni? Sure. Veggies? Go wild. Pineapple? I won’t judge (much).
But here’s the real kicker: this recipe is basically foolproof. If you can press things into a muffin tin and remember to set a timer, you’re golden. No fancy techniques, no weird ingredients you need a culinary degree to pronounce.

Just straightforward, delicious pizza bites that’ll make you look like a kitchen genius even if you’re really just winging it.
Oh, and they’re perfect for parties, meal prep, or stress-eating while binge-watching your favorite show. Multitasking at its finest.
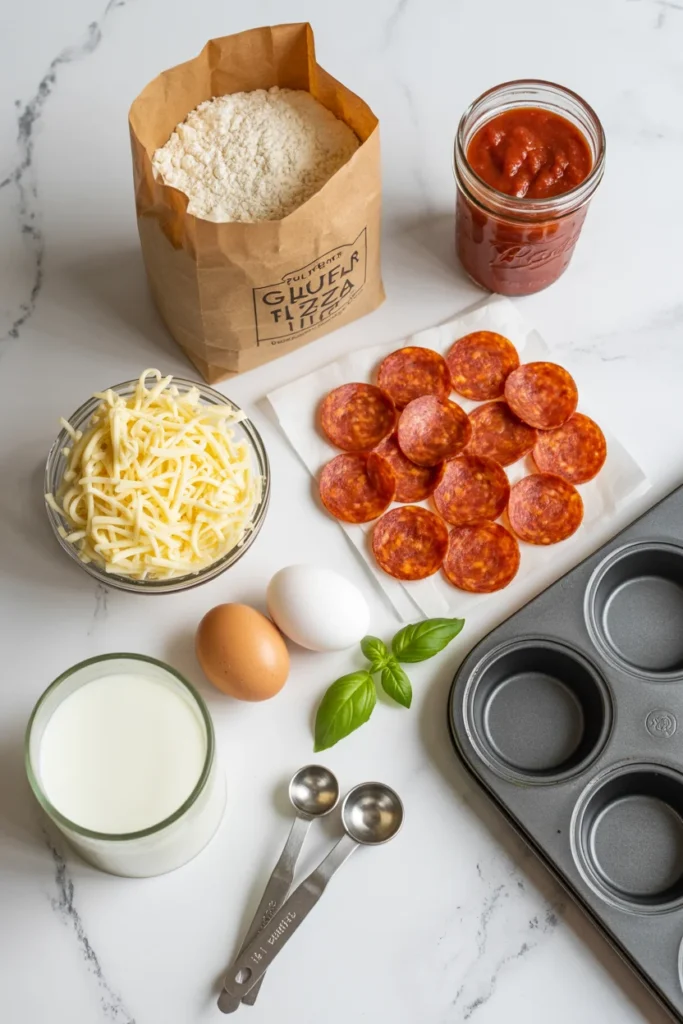
Ingredients You’ll Need
Here’s what you’re working with (makes about 24 pizza bites):
For the base:
- 2 cups gluten-free all-purpose flour blend (one with xanthan gum already in it—make your life easier)
- 1 tsp baking powder
- ½ tsp salt
- ½ tsp garlic powder (because garlic makes everything better)
- ¾ cup warm milk (dairy or non-dairy, your call)
- 2 eggs
- 3 tbsp melted butter or olive oil
For the toppings:
- 1 cup marinara or pizza sauce (store-bought is fine, we’re not Martha Stewart here)
- 1½ cups shredded mozzarella cheese
- ½ cup mini pepperoni slices (or turkey pepperoni, or no pepperoni—you do you)
- Optional extras: diced bell peppers, olives, mushrooms, Italian seasoning, red pepper flakes
Step-by-Step Instructions
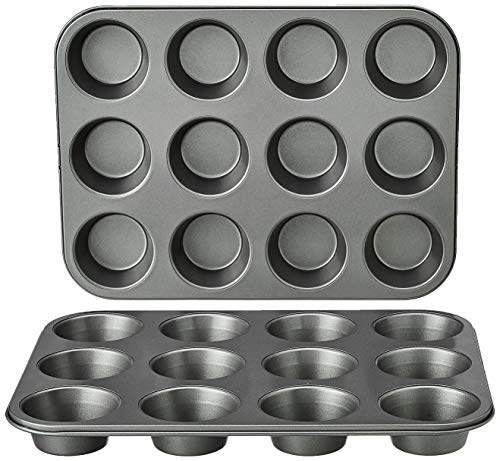
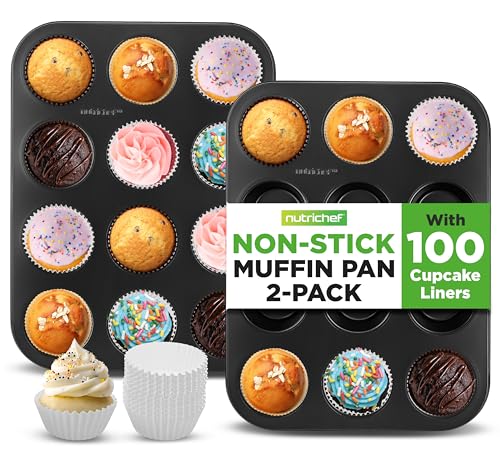
1. Preheat your oven to 375°F (190°C) and grease a mini muffin tin. Use cooking spray or butter—whatever prevents a sticky disaster later. If you’re exploring more recipes with alternative flours, check out our gluten-free buckwheat flour recipes for inspiration beyond pizza.
2. Mix your dry ingredients together in a medium bowl. Flour, baking powder, salt, and garlic powder all go in. Give it a quick whisk so everything’s friendly with each other.
3. In a separate bowl, whisk together the wet stuff. Eggs, warm milk, and melted butter should come together into a slightly runny mixture. Nothing fancy here.
4. Combine wet and dry ingredients. Pour the wet into the dry and stir until just combined—don’t overmix or you’ll end up with tough pizza bites, and nobody wants that. The batter should be thick but spoonable.
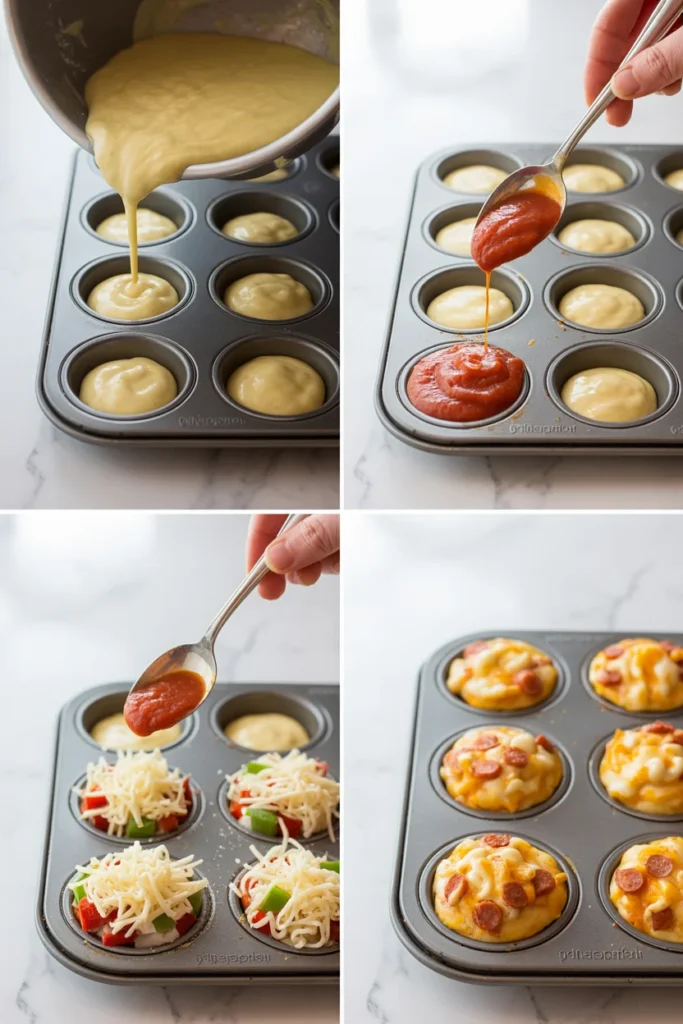
5. Fill each muffin cup about halfway with batter. Use a small spoon or cookie scoop for this. You’re building a foundation here, people.


6. Add a small spoonful of marinara sauce to each cup. Not too much or things get soggy. Think “tasteful dollop,” not “sauce explosion.”
7. Top with cheese and your chosen toppings. Sprinkle that mozzarella generously because cheese is life. Then add pepperoni, veggies, or whatever makes your pizza-loving heart sing.
8. Bake for 15-18 minutes until the tops are golden and the cheese is bubbly and gorgeous. Your kitchen will smell amazing right about now.
9. Let them cool for about 5 minutes before removing from the tin. Use a butter knife to gently pop them out. Serve warm and watch them disappear.
Common Mistakes to Avoid
Let’s talk about what not to do, because learning from other people’s failures is way easier than making your own.
Overfilling the muffin cups. These babies will puff up while baking, and if you fill them to the brim, you’ll have a cheesy overflow situation on your hands. Halfway full is the sweet spot.
Skipping the greasing step. Unless you enjoy spending twenty minutes scraping stuck dough out of a muffin tin, grease that thing properly. Future you will thank present you.
Using cold ingredients. Room temperature eggs and warm milk mix way better with everything else. Cold stuff = lumpy batter = sad pizza bites.


Not preheating the oven. I know, I know, it seems unnecessary, but throwing these into a cold oven messes with the rise and texture. Just preheat it—takes five minutes and makes all the difference.
Going overboard with sauce. More sauce does not equal more flavor; it equals soggy, sad pizza bites that fall apart. Exercise restraint.

Alternatives & Substitutions
Flour: Most gluten-free all-purpose blends work here, but make sure yours contains xanthan gum or add ½ tsp yourself. No xanthan gum = crumbly mess. You can also experiment with almond flour mixed with a bit of tapioca starch, though the texture will be denser.
Dairy-free options: Swap regular milk for almond, oat, or soy milk—whatever you’ve got. Use vegan butter and dairy-free cheese, and boom, you’re golden. IMO, the vegan mozzarella shreds from Violife are pretty solid.
Egg substitute: If you’re egg-free too (overachiever), use flax eggs (1 tbsp ground flaxseed + 3 tbsp water per egg, let sit for 5 minutes).
Toppings: Honestly, anything you’d put on a regular pizza works here. Leftover cooked sausage? Throw it in. Spinach? Sure. Feta cheese and sun-dried tomatoes for a Mediterranean vibe? Absolutely.
If you’re feeling fancy with other gluten-free desserts, our gluten-free gateau opera cake recipe shows how elevated gluten-free baking can be.
Sauce: Not a tomato sauce person? Use pesto, alfredo sauce, or even BBQ sauce for a different flavor profile.

Final Thoughts
Look, making homemade gluten-free pizza bites might seem like overkill when frozen options exist, but trust me on this one. These are infinitely better, and you’ll actually feel good about eating them—no weird preservatives, no mystery ingredients, just real food that happens to be gluten-free and ridiculously tasty.
Similar to how our gluten-free krumkake recipe transforms a traditional treat, these bites prove gluten-free cooking can match (or beat) the original.
Plus, once you nail this recipe, you can experiment with endless flavor combinations. Buffalo chicken pizza bites? Taco-inspired pizza bites? Breakfast pizza bites with scrambled eggs and bacon? The world is your gluten-free oyster.
So go ahead, preheat that oven and get your muffin tin ready. Whether you’re feeding a crowd, meal-prepping for the week, or just treating yourself to some homemade goodness, these pizza bites have got you covered. Now go make something delicious—you’ve got this!
FAQ
Can I make these ahead of time?
Yep! Bake them, let them cool completely, then store in an airtight container in the fridge for up to 3 days. Reheat in the oven or air fryer to get that crispy texture back. Microwaving works too, but they’ll be softer.
Can I freeze these pizza bites?
Absolutely. Freeze them in a single layer on a baking sheet first, then transfer to a freezer bag once solid. They’ll keep for up to 3 months. Reheat from frozen at 350°F for about 10-12 minutes.
What if I don’t have a mini muffin tin?
Use a regular muffin tin and increase the baking time to 20-25 minutes. You’ll get fewer, larger pizza bites—not exactly a tragedy.
Can I use regular flour instead of gluten-free?
Well yeah, but then they wouldn’t be gluten-free pizza bites, would they? If you’re not avoiding gluten, regular all-purpose flour works just fine with the same measurements.
Do these taste like “real” pizza?
They taste like delicious, portable pizza bites. Are they identical to a wood-fired Neapolitan pizza? No. Are they way better than most gluten-free alternatives you’ve tried? Probably yes.
Can kids help make these?
Totally! The measuring, mixing, and especially the topping part are perfect for little hands. Just supervise the oven stuff, obviously.
How do I know when they’re done?
They should be golden brown on top with the cheese all melty and slightly browned. If you poke one with a toothpick, it should come out clean or with just a few crumbs—no wet batter.
I’m Dr. Shivani, a Kolkata-based nutritionist since 2015. After 10 years of igniting a love for healthy eating in young minds as a High School nutritionist teacher, I now help individuals unlock their full potential through personalized diet plans. My passion for writing and sharing nutrition knowledge (through blogs and observations) keeps my practice fresh and fuels my love for the field!