
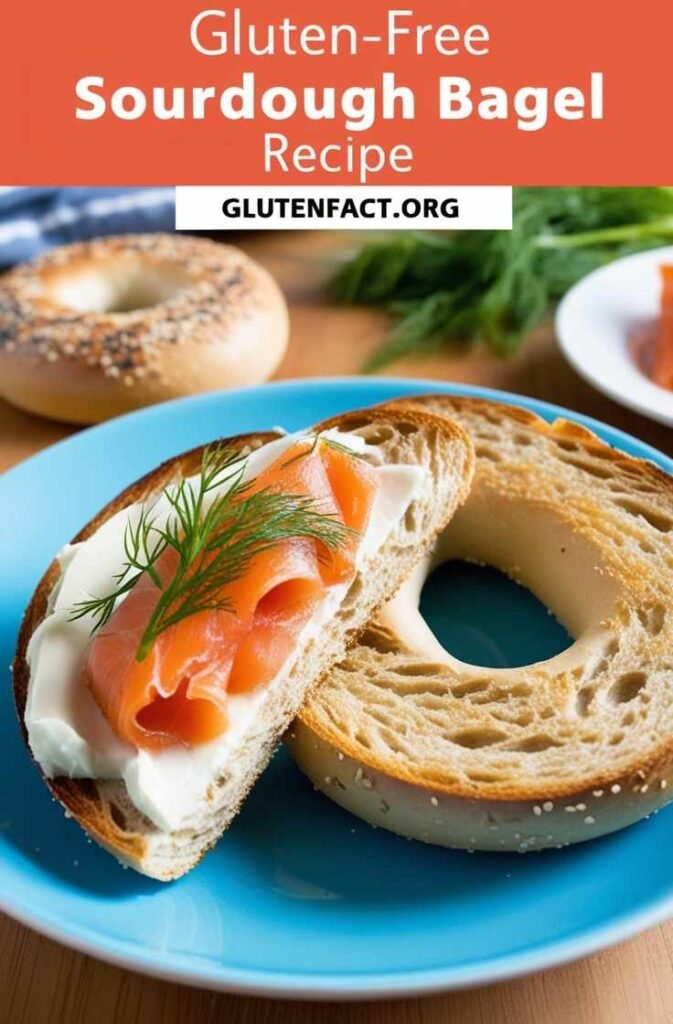
Are you ready to make delicious gluten-free sourdough bagel recipe at home? Our simple recipe will show you how to make chewy, tasty bagels that are vegan and gluten-free. Learn the secret to that perfect sourdough flavor and texture, all while following dietary restrictions.
Key Takeaways
- Homemade gluten-free sourdough bagels with a chewy exterior and soft, tender crumb
- Vegan and gluten-free recipe using a gluten-free sourdough starter
- Detailed step-by-step instructions for the perfect bake every time
- Versatile recipe allows for customization with your favorite toppings and mix-ins
- Bagels can be stored fresh or frozen for convenient meal prep
Authentic Homemade Gluten-Free Sourdough Bagels
Making gluten-free sourdough bagels at home is rewarding. You get to enjoy a chewy texture and a mild sourdough flavor. These bagels have a crispy outside and a soft inside. With patience and the right methods, you can make gluten-free bagels in your kitchen.
Crispy Exterior, Fluffy Interior
The secret to great gluten-free sourdough bagels is in the ingredients and how they’re baked. Using a gluten-free sourdough starter makes them chewy outside and light inside.
Mild Sourdough Flavor
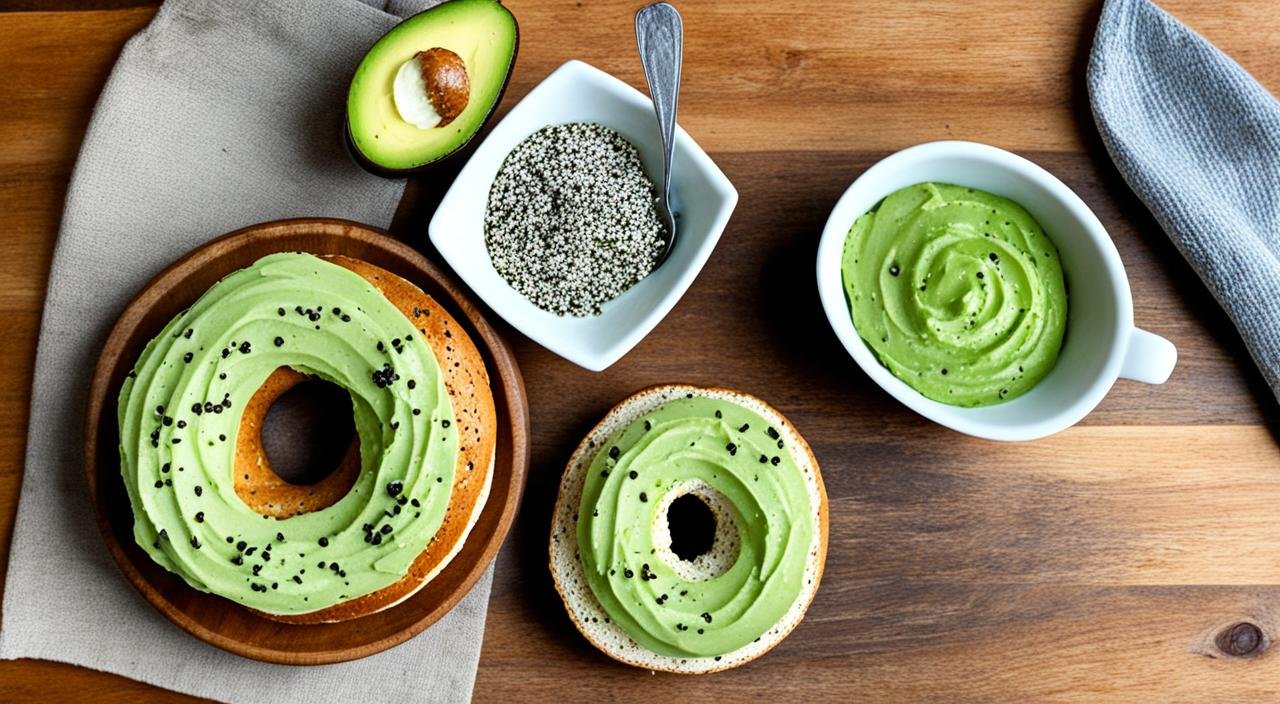
Gluten-free sourdough has a mild flavor. It’s not too strong, making it great with many toppings. You can enjoy them with savory or sweet toppings.
For these gluten-free sourdough bagels, it’s all about the right mix of ingredients, fermentation, and baking. Follow a good recipe and method to make bakery-quality bagels at home. Enjoy the chewy texture and the subtle sourdough flavor in your gluten-free baked goods.
Homemade gluten-free sourdough bagels take time and effort. But they’re worth it. With practice, you’ll get the perfect mix of crisp outside and fluffy inside. These bagels become a favorite for breakfast or snacks in your gluten-free home.
Health Benefits of Gluten-Free Sourdough Bagel
Gluten-free sourdough bagels aren’t just yummy – they’re good for you too! The sourdough magic makes them easier for your tummy to handle. It’s like the dough gets pre-digested a bit before you eat it. Cool, right?
Here’s a fun fact: sourdough helps your body soak up more of the good stuff from the food. It’s like a superhero that fights off the bad guys (in this case, things that make it hard for your body to get nutrients).
Oh, and here’s something neat – these bagels won’t make your blood sugar go crazy like regular bagels do. It’s kind of like how a seesaw goes up and down slowly instead of bouncing all over the place.
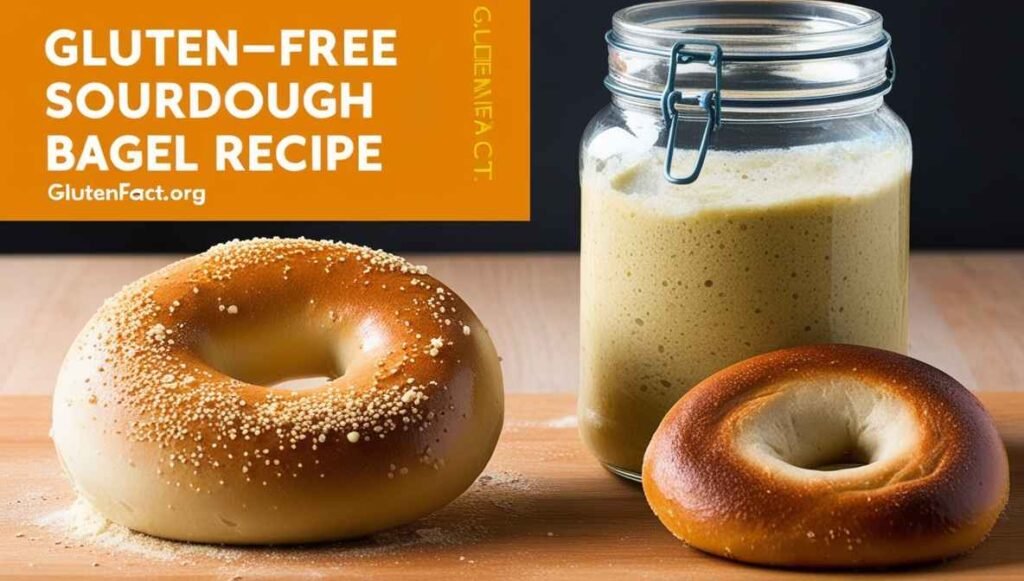
Gluten-Free Sourdough Bagel Recipe
Making gluten-free sourdough bagels at home is fun and rewarding. Our recipe uses an active gluten-free sourdough starter, whole psyllium husk, and gluten-free flours and starches. This mix makes bagels with a crisp outside and a soft, tasty inside.
Our step-by-step guide helps you shape, boil, and bake these gluten-free sourdough bagels. With patience and care, you’ll soon be enjoying fresh, how to make gluten-free sourdough bagels.
Ingredients and Equipment
- Active gluten-free sourdough starter
- Gluten-free bread flour blend
- Whole psyllium husk
- Water
- Molasses or honey
- Salt
You’ll also need a baking sheet, parchment paper, a large pot for boiling, and a sharp knife or bench scraper for shaping the bagels.
Step-by-Step Instructions
- Prepare the sourdough levain: Mix the active gluten-free sourdough starter with water and some gluten-free flour. Let it ferment for 8-12 hours until it’s bubbly and active.
- In a large mixing bowl, combine the rest of the gluten-free flour, psyllium husk, and salt. Add the fermented sourdough levain and mix until it forms a shaggy dough.
- Turn the dough onto a lightly floured surface and knead for 5-7 minutes, until it’s smooth and elastic.
- Divide the dough into 8 equal pieces and roll each into a ball. Use your index finger to make a hole in the center, stretching the dough into a bagel shape.
- Boil a large pot of water and add a tablespoon of molasses or honey. Carefully put the bagels into the boiling water for 25 seconds on each side.
- Preheat your oven to 425°F (218°C). Put the boiled bagels on a parchment-lined baking sheet and bake for 20-25 minutes, until they’re golden brown.
- Let the gluten-free sourdough bagels cool before serving. Enjoy your homemade step-by-step gluten-free bagel baking creations!
“These gluten-free sourdough bagels are a game-changer! The texture is spot-on, and the flavor is simply amazing.”
– Jane Doe, Gluten-Free Baking Enthusiast
Ingredients and Substitutions
Our gluten-free sourdough bagel recipe uses a mix of gluten-free flours and starches. We add whole psyllium husk to make the bagels chewy, just like traditional ones.
Gluten-Free Flours and Starches
We mix brown rice flour, white rice flour, potato starch, and tapioca starch for our bagels. This mix gives the perfect texture and flavor.
If you want to swap out flours, try a 1:1 mix of high-protein flours like sorghum or millet with starches like arrowroot or cornstarch. Just remember to adjust the water to get the dough right.
Psyllium Husk for Binding
Psyllium husk is key in our recipe. It’s a soluble fiber that makes the bagels chewy and helps them keep their shape when boiled and baked.
If psyllium husk is hard to find or you prefer not to use it, you can swap it with ground flaxseed or chia seeds. But, the bagels might turn out a bit differently.
Gluten-Free Sourdough Bagel Ingredients and Quantity
| Ingredient | Amount | Function |
|---|---|---|
| Brown Rice Flour | 150g | Provides structure and chewiness |
| White Rice Flour | 70g | Adds lightness and airiness |
| Potato Starch | 60g | Improves texture and tenderness |
| Tapioca Starch | 50g | Enhances flexibility and chewiness |
| Psyllium Husk | 20g | Acts as a binder and mimics gluten |
With the right ingredients, we make gluten-free sourdough bagels that are crispy on the outside and soft inside. Feel free to try different flour mixes to suit your taste and dietary needs.
Nutritional Information
Let’s play a game of “Bagel vs Bagel”! In this corner, we have the gluten-free sourdough bagel. In the other corner, the regular bagel. Let’s see how they stack up:
| Gluten-Free Sourdough Bagel | Regular Bagel: |
| Calories: 200 Protein: 4 grams Fiber: 2 grams | Calories: 250 Protein: 3 grams Fiber: 1 gram |
Look at that! Our gluten-free friend has fewer calories but more protein and fiber. It’s like getting more bang for your buck!
Step-by-Step Baking Instructions
Baking gluten-free sourdough bagels at home is rewarding. It gives you delicious and real results. We’ll guide you from mixing the dough to baking the perfect bagels.
First, mix the dough with ingredients like Bob’s Red Mill Gluten Free 1:1 Baking Flour, xanthan gum, sea salt, and your gluten-free sourdough starter. Then, we’ll give tips on kneading and letting it rise. This makes the dough have that sourdough taste and texture.
Next, we’ll show you how to shape the dough into bagels. After that, we’ll explain the boiling step. This step involves dipping the bagels in baking soda water. It makes them chewy on the outside.
Finally, we’ll tell you how to bake the bagels until they’re golden brown. This makes sure they’re soft and fluffy inside.
Tips for Maintaining a Gluten-Free Sourdough Starter
Taking care of a sourdough starter is like having a pet. You need to feed it every day! Here’s how:
- Give it equal parts water and gluten-free flour. It’s like making mud pies, but don’t eat it!
- Keep it somewhere warm. The top of your fridge is perfect – it’s like a cozy blanket for your starter.
- A happy starter bubbles up and smells a bit like vinegar. If it smells bad, it might be telling you it’s hungry!
One baker said, “My starter is like my kitchen buddy. We hang out every day!”
Common Mistakes to Avoid
Oops! Don’t make these boo-boos:
- Skipping the boiling step. That’s what makes bagels chewy. Without it, you just have round bread!
- Using a sleepy starter. Make sure it’s bubbly and active. A flat starter makes flat bagels. Boring!
- Adding too much flour. Your dough might end up drier than a desert!
Remember, even pro bakers make mistakes. One famous baker once said, “I’ve made more bagel failures than I can count. But each one taught me something!”
Flavor Variations and Topping Ideas
Time to get crazy with flavors! Here are some ideas to jazz up your bagels:
- Cinnamon Raisin: Add 1 tablespoon of cinnamon and 1/2 cup of raisins to your dough. It’s like a hug for your taste buds!
- Garlic and Herb: Mix in 1 teaspoon of garlic powder and 1 tablespoon of dried herbs. Your kitchen will smell amazing!
- Everything Bagel: Sprinkle on sesame seeds, poppy seeds, dried garlic, dried onion, and salt before baking. It’s like a party on your bagel!
One bagel fan said, “I thought going gluten-free meant saying goodbye to my favorite breakfast. These flavor ideas brought it back to life!”
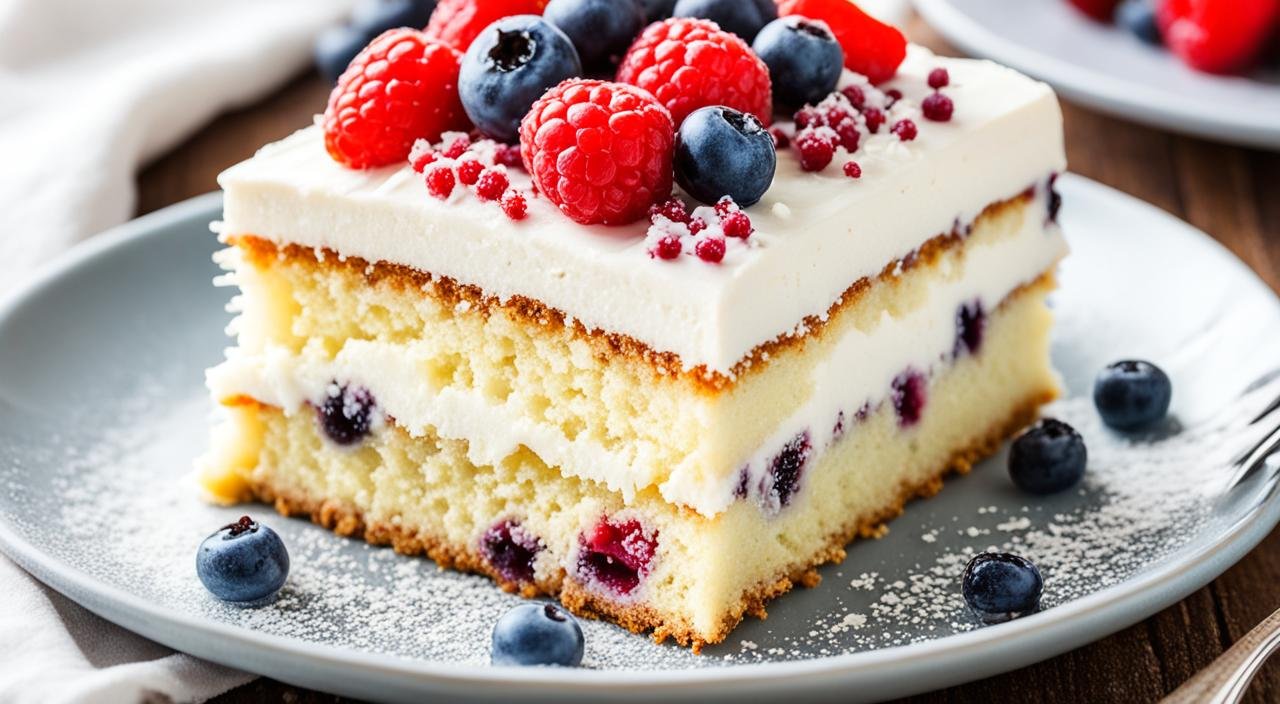
If you’re in the mood for more gluten-free goodies, check out our super tasty Gluten-Free Fruit Tart Recipe. It’s perfect for dessert after your bagel breakfast!
Storing and Reheating Instructions
Keep your bagels fresh with these tips:
- Room temperature: Put them in an airtight container. They’ll stay good for 2 days. It’s like tucking them into bed!
- Freezer: Slice them first, then freeze. They can last up to 3 months. It’s like putting them in a time machine!
- Reheating: Pop frozen bagel halves right into the toaster. No need to thaw! It’s like magic – frozen to toasty in minutes!
Did you know? Americans eat an average of 11 pounds of bagels per year. With these storing tips, you can join the bagel party too!
Want to switch up your breakfast? Take a peek at our List of Delicious Gluten-Free Breakfast Ideas. There’s a whole bunch of yummy stuff to try!
Conclusion
There you have it – your ticket to yummy, gluten-free sourdough bagels! From mixing the dough to adding fun flavors, you’re now a bagel expert. Remember, making these bagels is like riding a bike – it might be wobbly at first, but soon you’ll be cruising!
They’re not just tasty, but good for you too. As one happy baker said, “These bagels changed my breakfast game!” So, roll up your sleeves and get baking.
Before you know it, your kitchen will smell amazing and your tummy will be happy. Who knows? You might become the bagel king or queen of your neighborhood! Don’t forget to snap a pic of your creations – your friends will be bagel-eyed with envy!
Hey, did you know some drinks are gluten-free too? If you’re curious, find out Is Rum Gluten Free. It might be fun to know for your next grown-up party!
FAQs
Can I use regular gluten-free flour instead of sourdough starter?
Nope, sorry! The sourdough starter is what gives these bagels their special taste and chewy texture. Without it, you’d just have regular old gluten-free bagels. Boo!
How long does it take to make gluten-free sourdough bagels?
It’s not a quick snack, that’s for sure! You’ll need about a day from start to finish. Most of that time is just waiting for the dough to rise and get yummy. But trust me, it’s worth the wait!
Are gluten-free sourdough bagels healthier than regular bagels?
You bet! They’re easier on your tummy and don’t make your blood sugar go crazy. Plus, they’ve got more good stuff your body needs. It’s like a health boost in a bagel shape!
Can I freeze the bagel dough?
Yep! Just shape your bagels, then pop them in the freezer. When you’re ready to bake, let them thaw and rise overnight in the fridge. Fresh bagels whenever you want – how cool is that?
Why are my gluten-free sourdough bagels dense?
Uh-oh, sounds like your dough was too heavy! Next time, try using less flour or more water. And make sure your sourdough starter is nice and bubbly before you use it. Flat starter = flat bagels!
I’m Dr. Shivani, a Kolkata-based nutritionist since 2015. After 10 years of igniting a love for healthy eating in young minds as a High School nutritionist teacher, I now help individuals unlock their full potential through personalized diet plans. My passion for writing and sharing nutrition knowledge (through blogs and observations) keeps my practice fresh and fuels my love for the field!

These look incredible and I would love to make them! I read the whole article but didn’t see where it says how much GF sourdough starter to use in this recipe?
Thanks so much!
Thanks for your question! The recipe uses an active gluten-free sourdough starter, but the article doesn’t specify the amount in the ingredient list itself. If you follow similar gluten-free sourdough bagel recipes, they often use around about 150 g (roughly ½–¾ cup) of active GF starter — make sure it’s bubbly and at peak activity before mixing into the dough. Hope that helps and happy baking!