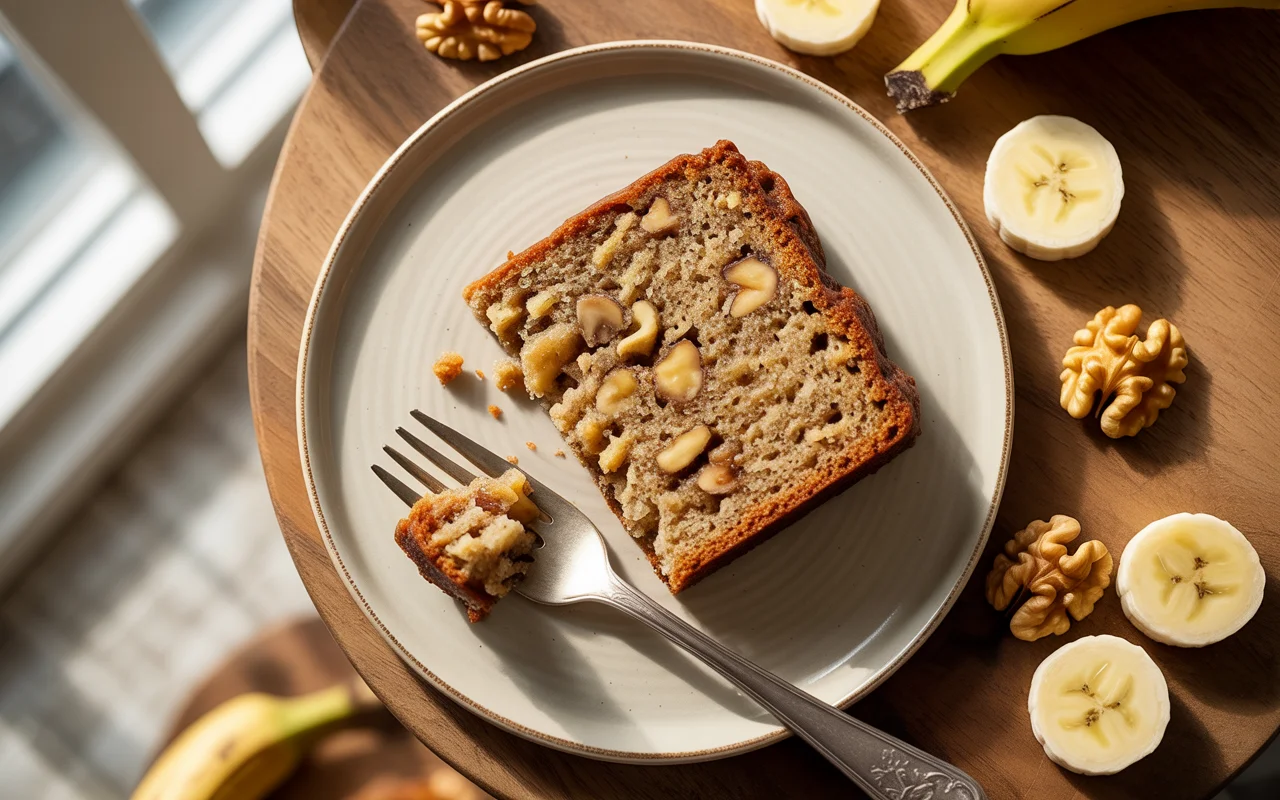
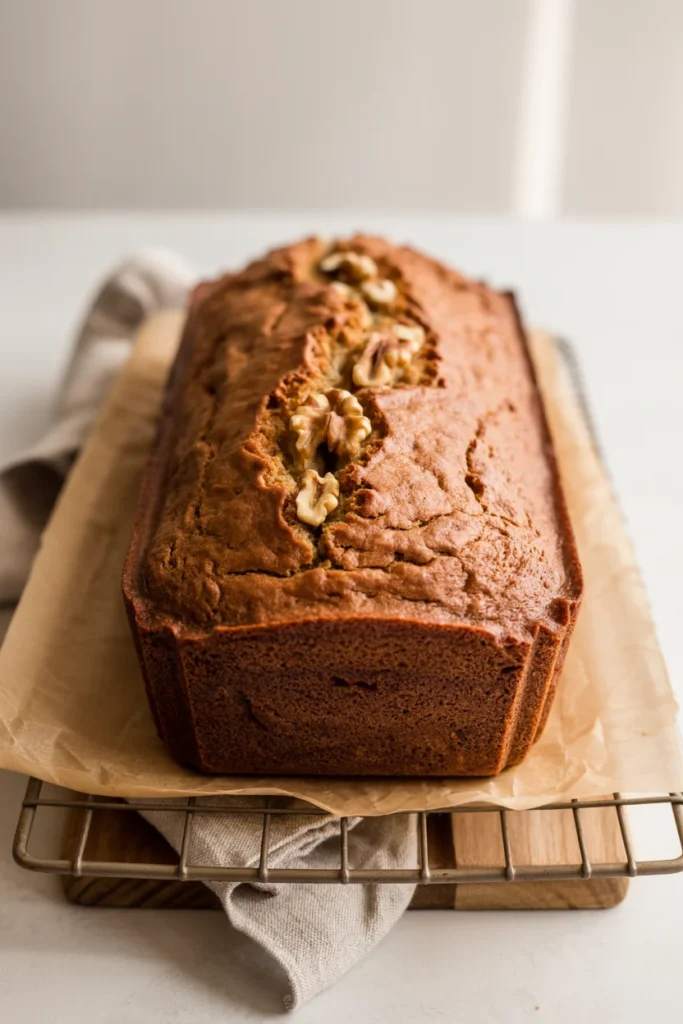
This gluten-free banana nut cake Recipe is insanely moist, foolproof, and uses simple ingredients. Perfect for overripe bananas and serious dessert cravings.
So you’ve got three bananas turning brown on your counter, a gluten intolerance that won’t quit, and a serious craving for something sweet that doesn’t taste like cardboard.
Welcome to the club—population: everyone with overripe bananas and zero patience for bland “healthy” desserts. This gluten-free banana nut cake is about to become your new obsession, and honestly? It might just ruin regular banana bread for you forever. Sorry, not sorry.
Why Gluten-Free Banana Nut Cake Recipe is Awesome
Let’s be real—gluten-free baking can be intimidating AF. One wrong move and you’re eating a dense brick that could double as a doorstop. But this recipe? It’s practically foolproof.
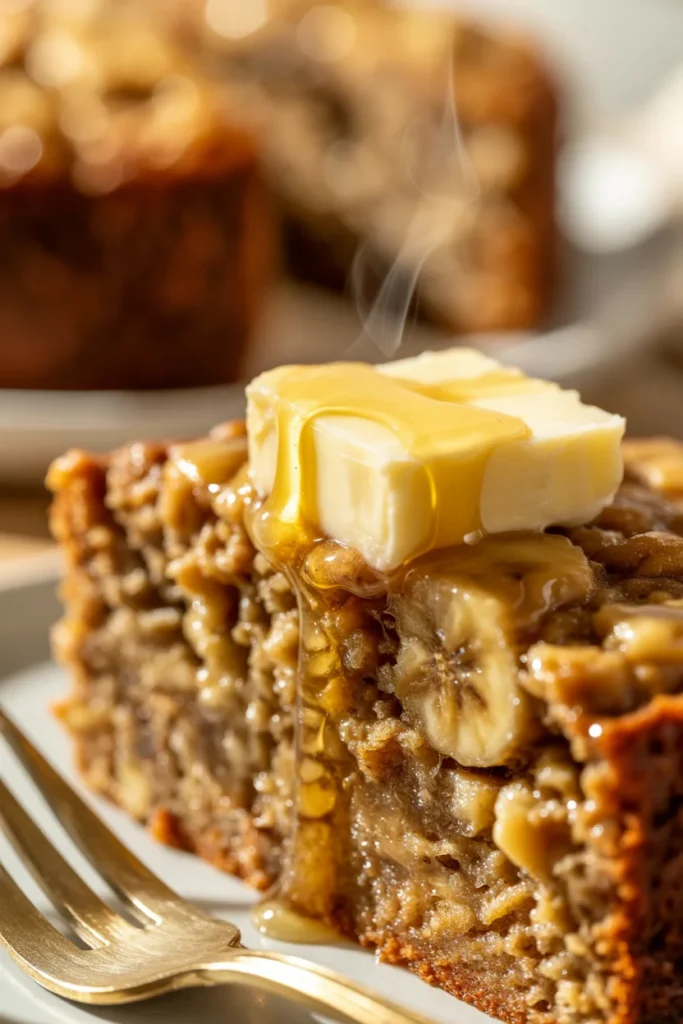
The bananas keep everything moist (yes, I said the M-word), the nuts add that perfect crunch, and the gluten-free flour blend creates a texture so good, your gluten-eating friends will demand the recipe.
Here’s what makes this cake a total winner: It uses ingredients you probably already have, takes less than 15 minutes to prep, and doesn’t require any weird gums or binders that cost more than your monthly Netflix subscription.
Plus, it’s versatile enough to pass as breakfast (hey, it’s got fruit!) or dessert. No judgment either way—I’ve eaten it for both in the same day.
The best part? This cake actually improves after sitting overnight. The flavors develop, the texture gets even better, and you’ll have a hard time not eating the entire thing in one sitting. It’s the gift that keeps on giving, assuming you have the willpower to let it sit that long.
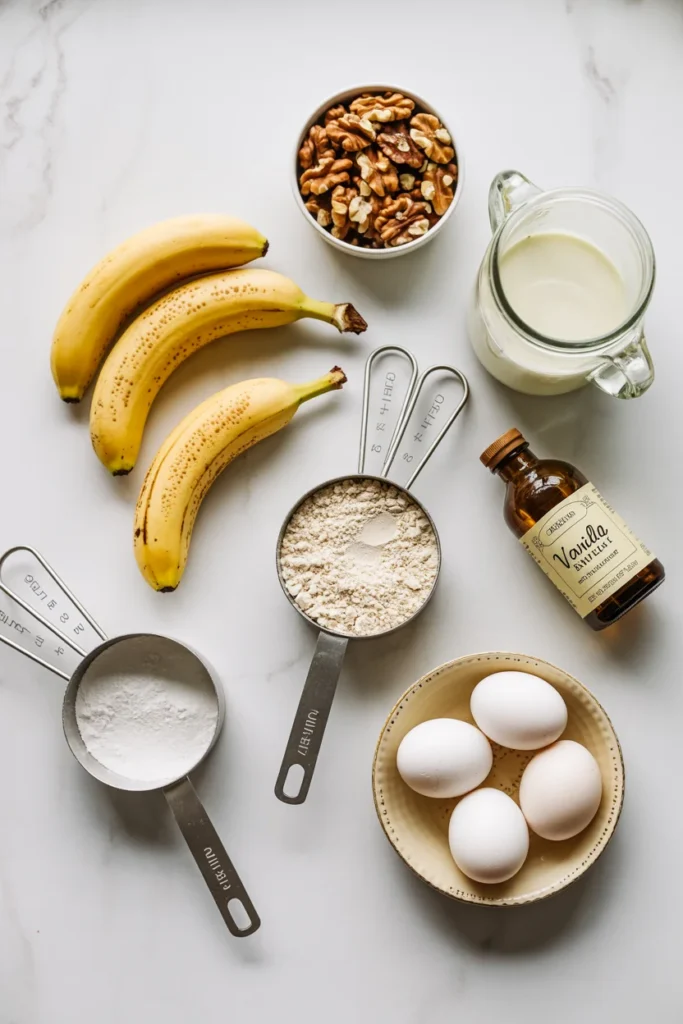
Ingredients You’ll Need
For the cake:
- 3 large overripe bananas (the browner, the better—we’re talking spotted leopard status)
- 2 cups gluten-free all-purpose flour blend (one with xanthan gum already included saves your sanity)
- 3/4 cup granulated sugar (or coconut sugar if you’re feeling fancy)
- 1/2 cup melted coconut oil (or butter, because butter makes everything better)
- 3 large eggs (room temp, not straight from the fridge)
- 1 teaspoon vanilla extract (the real stuff, not the weird imitation)
- 1 teaspoon baking soda (fresh, please—check the expiration date)
- 1/2 teaspoon salt (just regular table salt works fine)
- 1 teaspoon cinnamon (optional but highly recommended)
- 1 cup chopped walnuts or pecans (toasted if you’re feeling ambitious)
- 1/4 cup milk of choice (dairy, almond, oat—whatever floats your boat)
Pro tip: If you’re new to gluten-free baking and want to perfect your technique with similar recipes, check out our gluten-free banana muffins guide—it’s basically this cake’s portable cousin.
If you need baking equipment, you can check on Amazon.
Step-by-Step Instructions
1. Preheat and prep (don’t skip this): Set your oven to 350°F and grease a 9×5-inch loaf pan like your life depends on it. Seriously, use butter, oil, or cooking spray generously. Nobody wants their beautiful cake stuck to the pan like a bad relationship.
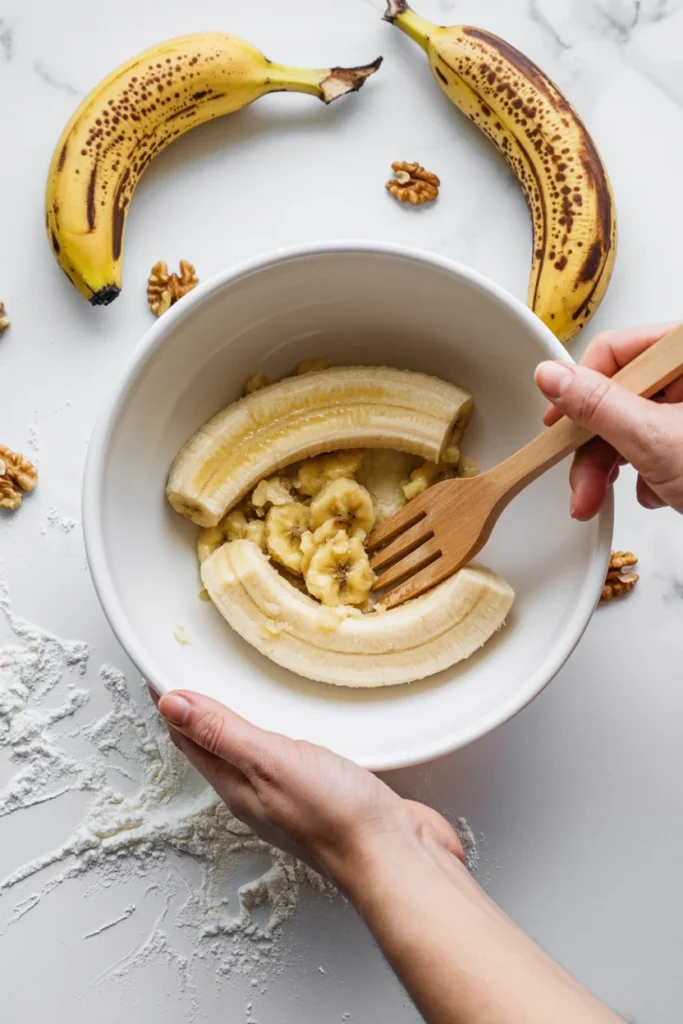
2. Mash those bananas: Grab a fork or potato masher and go to town on those bananas in a large bowl. A few lumps are totally fine—we’re not making baby food here. The mushier they are, the more banana flavor you’ll get.
3. Mix the wet ingredients: Add the melted coconut oil, eggs, vanilla, and milk to your mashed bananas. Whisk everything together until it’s combined. Don’t overthink it—this isn’t a meringue situation.
4. Combine the dry stuff: In a separate bowl, whisk together the gluten-free flour, sugar, baking soda, salt, and cinnamon. Make sure there are no clumps lurking in there—those sneaky flour pockets will mess with your texture.
5. Bring it all together: Pour the dry ingredients into the wet ingredients and fold gently with a spatula. Mix until just combined—you should still see a few streaks of flour. Overmixing is the enemy of fluffy cakes, so resist the urge to stir it to death.
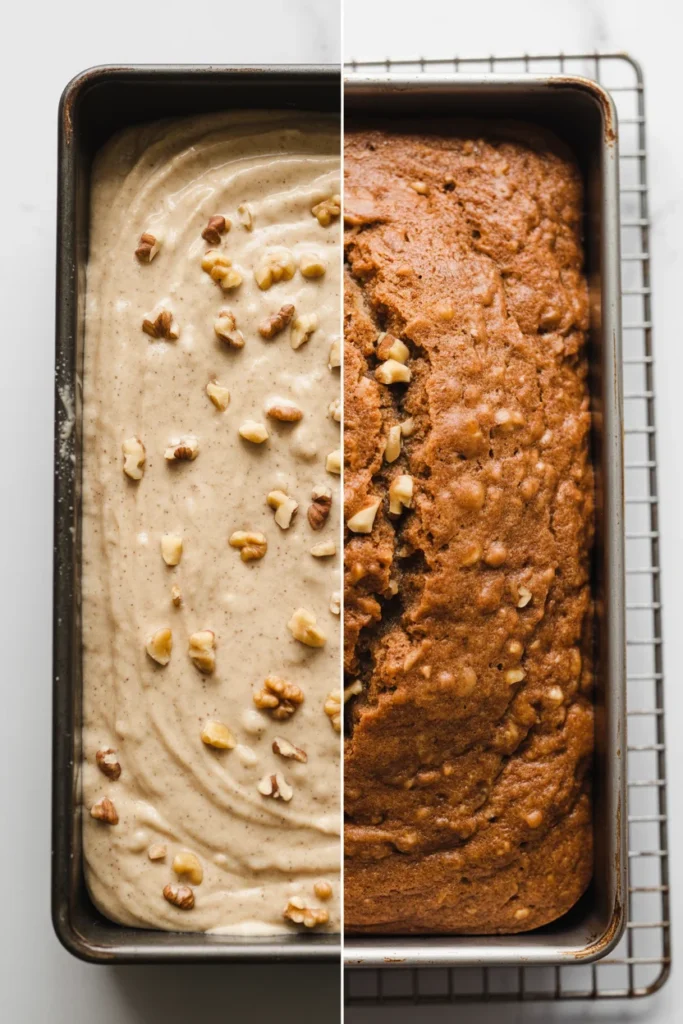
6. Add the nuts: Fold in those chopped walnuts or pecans. Save a handful to sprinkle on top if you’re feeling extra. It makes the cake look bakery-worthy and gives you those toasted, crunchy edges.
7. Bake to perfection: Pour the batter into your prepared pan and smooth the top. Bake for 55-65 minutes, or until a toothpick inserted in the center comes out clean or with just a few moist crumbs. Your kitchen will smell absolutely incredible—fair warning to anyone nearby.
8. Cool down: Let the cake cool in the pan for about 15 minutes, then turn it out onto a wire rack. I know waiting is torture, but cutting into it too soon will result in a crumbly mess. Exercise some self-control for once.
Common Mistakes to Avoid
Using flour that’s not all-purpose blend: Regular almond flour or coconut flour won’t work here without major adjustments. Stick with a proper gluten-free all-purpose blend that includes xanthan gum or guar gum. Trust me on this one.
Skipping the banana ripeness check: Your bananas need to be really ripe—like, you’re embarrassed to have them on your counter ripe. Unripe bananas won’t mash properly and lack that intense sweetness that makes this cake pop.
Overmixing the batter: Once you add the dry ingredients to the wet, mix until just combined. Overmixing develops gluten in regular flour (not an issue here) but still creates a dense, tough texture. Gentle folding is your friend.
Opening the oven door early: Resist the temptation to peek before 50 minutes. Opening the oven drops the temperature and can cause your cake to sink in the middle. Just let it do its thing.
Not testing for doneness: Oven temperatures vary wildly, so don’t rely solely on time. Use the toothpick test—it should come out with a few moist crumbs, not wet batter or completely dry.
Alternatives & Substitutions
No coconut oil? Use melted butter, vegetable oil, or even olive oil (though that’ll add a distinct flavor). Honestly, butter is my ride-or-die here—it adds richness that coconut oil can’t quite match.
Nut allergies in the house? Skip the nuts entirely or swap them for chocolate chips, dried fruit, or even shredded coconut. The cake is delicious enough to stand on its own without them. If you’re exploring more nut-free gluten-free desserts, our gluten-free raspberry bars are another crowd-pleaser.
Want less sugar? You can reduce the sugar to 1/2 cup if your bananas are super sweet, or use coconut sugar, maple sugar, or even honey (reduce the milk by 2 tablespoons if using liquid sweetener).
Egg-free version? Replace each egg with a flax egg (1 tablespoon ground flaxseed + 3 tablespoons water, let sit for 5 minutes). The texture will be slightly denser but still totally edible.
Dairy-free milk options: Literally any milk works—almond, oat, soy, cashew, coconut. I usually just grab whatever’s in my fridge and call it a day.
Final Thoughts
Look, you’ve made it this far, which means you’re either genuinely interested in making this cake or you’re procrastinating something important.
Either way, do yourself a favor and actually make this recipe. It’s one of those rare gluten-free treats that doesn’t taste like a compromise—it’s legitimately delicious, not just “good for gluten-free.”
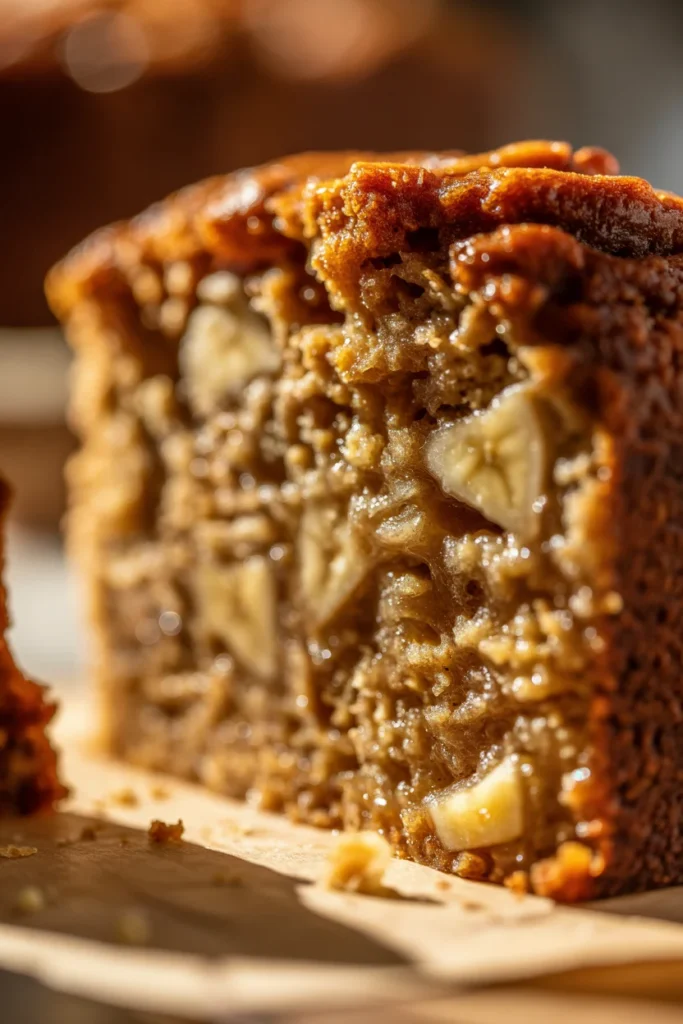
The combination of those sweet, caramelized bananas with the crunchy nuts and that tender, moist crumb (there it is again) creates something special. It’s comfort food that happens to be gluten-free, not the other way around.
Whether you’re dealing with celiac disease, gluten sensitivity, or just trying to use up those bananas before they become a science experiment, this cake has your back.
Now go preheat that oven and get baking. Your future self—the one with a slice of warm banana nut cake and a cup of coffee—will thank you. And if anyone asks if it’s gluten-free, just smile mysteriously and let them think you’re a baking genius. You’ve earned it.
FAQ (Frequently Asked Questions)
Can I use a different size pan?
Sure, but your baking time will change. An 8×8 square pan will work—just check for doneness around 45 minutes. Muffin tins work great too (hello, portion control)—bake for 20-25 minutes.
How do I store this cake?
Wrap it tightly in plastic wrap or store in an airtight container at room temperature for up to 3 days. Want it to last longer? Refrigerate for up to a week or freeze for up to 3 months. IMO, it’s best slightly warm with butter—just saying.
Can I make this vegan?
Absolutely! Use flax eggs instead of regular eggs and make sure your sugar is vegan (some brands use bone char in processing). Everything else is already plant-based if you use coconut oil.
Why did my cake sink in the middle?
Usually because you opened the oven too early, your baking soda was expired, or the oven temperature was off. An oven thermometer is a cheap investment that’ll save you from future baking disasters.
Can I add other mix-ins?
Hell yes! Chocolate chips, dried cranberries, shredded coconut, or even a cream cheese swirl are all fair game. Just don’t go overboard—stick to about 1 cup total of add-ins so the batter doesn’t get too heavy.
How ripe should the bananas really be?
You want them covered in brown spots, almost black. If they’re still mostly yellow, let them sit on your counter for a few more days. Or throw them in a paper bag to speed things up.
Can I make this into cupcakes instead?
For sure! Line a muffin tin with paper liners, fill each about 2/3 full, and bake at 350°F for 20-25 minutes. Perfect for when you need individual portions or want to look fancy at a potluck.
I’m Dr. Shivani, a Kolkata-based nutritionist since 2015. After 10 years of igniting a love for healthy eating in young minds as a High School nutritionist teacher, I now help individuals unlock their full potential through personalized diet plans. My passion for writing and sharing nutrition knowledge (through blogs and observations) keeps my practice fresh and fuels my love for the field!